
I'm over here today!! Check out my guest post and Brittany's blog.
Enjoy my first tutorial!
It was my very first time doing anything like this. I've never used fabric dye nor have I ever doodled on a shirt (any shirt altering is thanks to my slobby eating habits). It came out alright, but I'm sure, with some practice and a few prototypes, I can make something awesome. Oh, and before I forget--buy your shirts at least two sizes bigger than normal. All of mine shrunk. Good thing I wasn't making them for anything important like a bachelorette party. Dammit.
Anywho.
Supplies you'll need:
- 100% cotton tee shirt(s): white or off-white
- Elmer's gel glue (the BLUE, not the WHITE)
- Tote lid (or something else to stretch your fabric over)
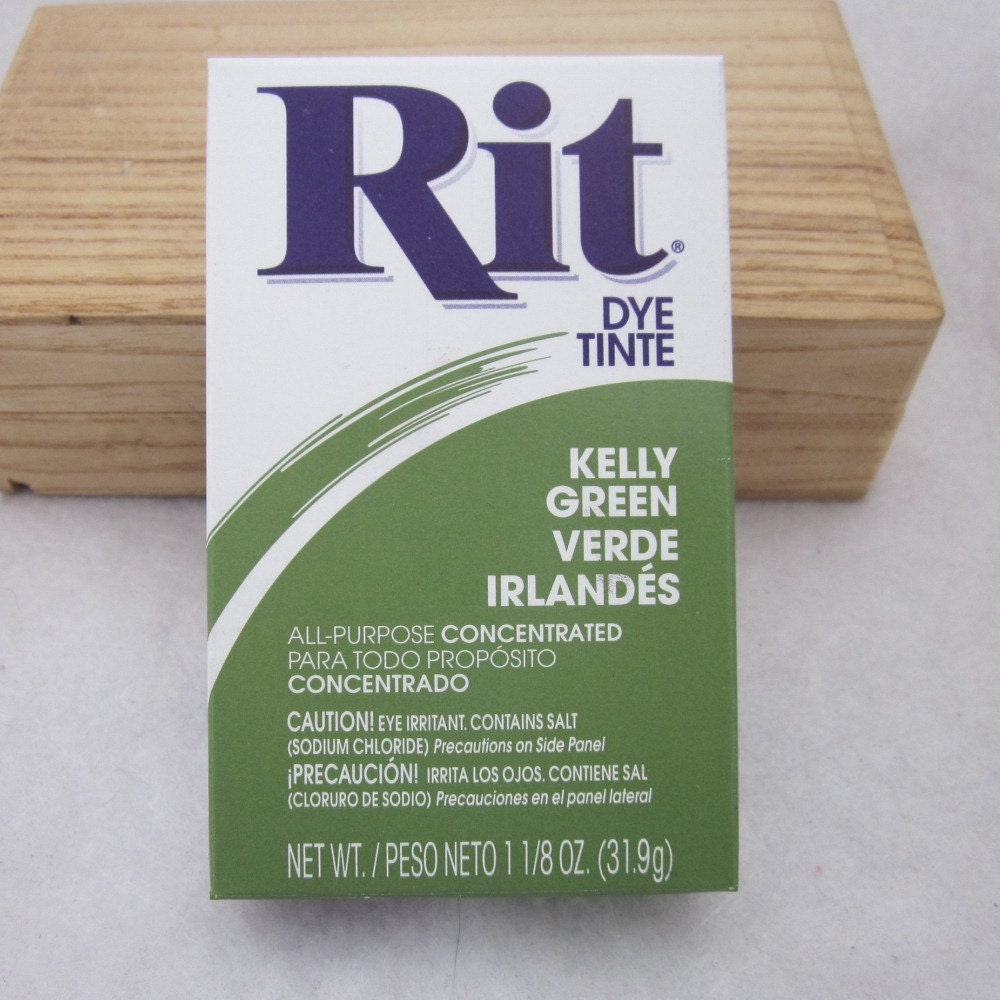
- Fabric dye in your desired color (1 box per 1 lb of clothing)
- Rubber gloves
- A bucket or small tote
- A stirring implement (wooden spoon or tongs will work)
- Towels (for your mess)
- Hangers (to hang dry your finished product)
 |
| Photo courtesy of ucreate. |

Once you've finished your
I used a smaller, 10 gallon tote so that my shirts could free-float in the dye. Put on your gloves. I filled the tote with 6 gallons of hot water since I used 2 boxes of Kelly green Rit (3 gallons per 1 box of dye). Pre-dissolve your dye powder in 2 cups (per box) of hot water. Add to tote and mix with water.
After I had my dye bin set up, I quickly rinsed my shirts in lukewarm water and set them, individually, in the tote. I stirred them constantly for about 15-20 minutes until the shirts had reached my desired color.

When the shirts are ready to come out of the dye, be sure you're next to the sink so that you don't make too much of a mess with the drip. Rinse each shirt individually in lukewarm water until the water runs clear. Ring out excess water. Hang dry.
The clean up may require bleach. Have it nearby before the dye can set on any of your counters, in your sink, or elsewhere.
Once the shirts are completely dry (will take a day or two), fill your sink (or a bucket) with cool, soapy water and let the shirts soak (I know, I know. You just spent two days waiting for the shirts to dry...) for 15 minutes. This process will help get the extra glue out.
After the soap bath, put your shirts in the washer and dryer as normal. Then enjoy your sweet watermark tee!

1 comment:
I have a question!
I made a few of these last June but I followed the tutorial on another blog, specifying that we needed to use cold water to dye them. My shirts turned out great, but they have since faded so much that you can't read the batiking anymore.
Since you did yours in HOT water, did the dye stay longer?
I'd like to try again.
Post a Comment